As Makgeolli gains popularity, you might feel adventurous and decide to try making it yourself. You type “Makgeolli” on YouTube, and one of the first videos you come across is by the famous YouTuber, Korean Kitchen Rockstar, “Maangchi.”
Now, I’ve been a fan of Maangchi for quite some time, following her cooking recipes from time to time, and I must say she’s great. However, when I watched her YouTube video on making Makgeolli, I couldn’t help but cringe and raise numerous red flags, just like a soccer referee.
It’s worth noting that her Makgeolli video is eight years old and still receives comments and questions from people. So, as a Makgeolli brewer here in Seoul, Korea, it’s my duty to make your life easier and help you enjoy the process of making Makgeolli.
Now, let me make it straightforward and point out the two biggest issues with her approach to making Makgeolli.
Red flag # 1
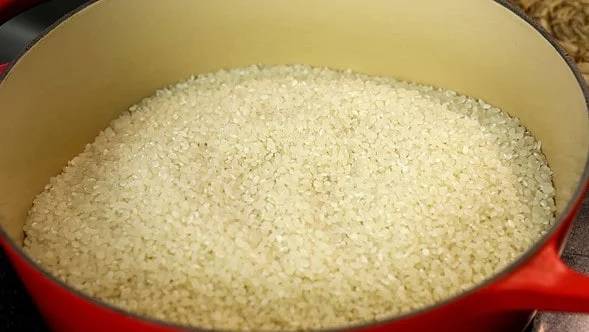
Rice about to be cooked in the pot (From Maangchi's blog)
When it comes to making Makgeolli, after washing your rice, soaking it, and then drying it, it’s crucial to steam it—yes, steam it—instead of cooking it, as demonstrated in her video.
Here are a couple of issues when you cook rice:
You’re more likely to overcook your rice.
When rice is overcooked, the enzymes necessary for breaking down the rice starch may not function properly.
The cooking time can vary significantly depending on your gas range; what might take Maangchi 15 minutes could be subjective for others.
You become more susceptible to making mistakes in the process.
So, remember, steaming the rice is the way to go for a successful Makgeolli-making experience.
What should you do instead?
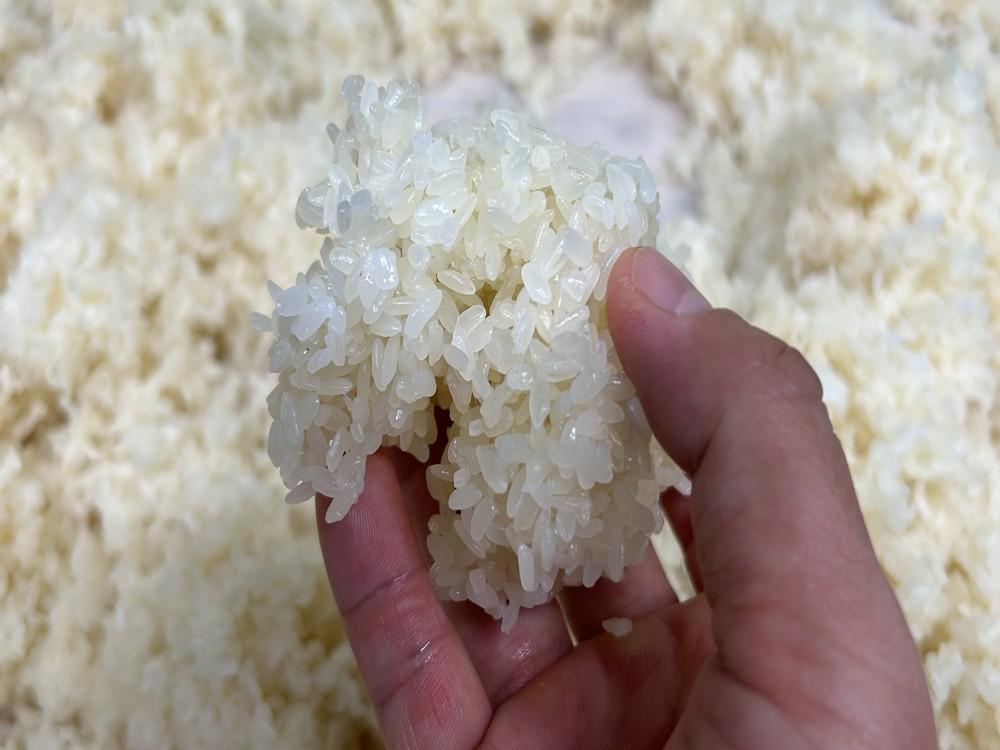
Instead of cooking your rice, the best approach for making Makgeolli is to steam it. I’ve been crafting Makgeolli for years, and during that time, I’ve never resorted to cooking my rice or using a rice cooker. The goal when preparing rice for Makgeolli, also known as “고두밥” (godubap) or chewy rice, is to achieve that perfect al-dente and chewy texture—neither overcooked nor undercooked, but just right in the middle.
What makes Makgeolli so accessible and inviting for people to try is the fact that you don’t need any fancy equipment to brew it. However, there’s one thing I highly recommend investing in: a steamer. Here’s the one I’ve been using as a home-brewer for over 10 years. If you’re reluctant to get a steamer, you can opt for a steamer basket. I’ve used it many times when brewing at my parent’s place, where they don’t have a steamer. It’s a practical alternative that gets the job done.
Red flag # 2
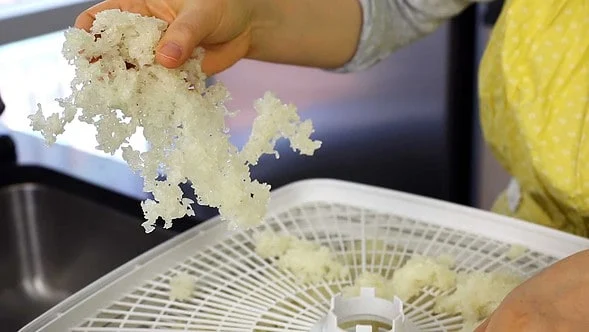
One of the most shocking aspects of Makgeolli-making is the use of a dehydrator. I must emphasize that this is an absolute NO for several reasons:
Dehydrating the rice causes it to become overly dry, and for good Makgeolli, you actually need a bit of moisture in the rice.
If you dehydrate the rice as Maangchi demonstrates, you’ll likely end up with a sour Makgeolli with little to no alcohol content.
Every dehydrator operates differently, making it challenging to achieve consistency in the process.
In the old days, when people were making Makgeolli, absolutely no one used a dehydrator.
Plus, who wants the hassle of cleaning yet another piece of equipment?
So, if you’re aiming for a successful Makgeolli brew, please steer clear of the dehydrator.
What should you do instead?
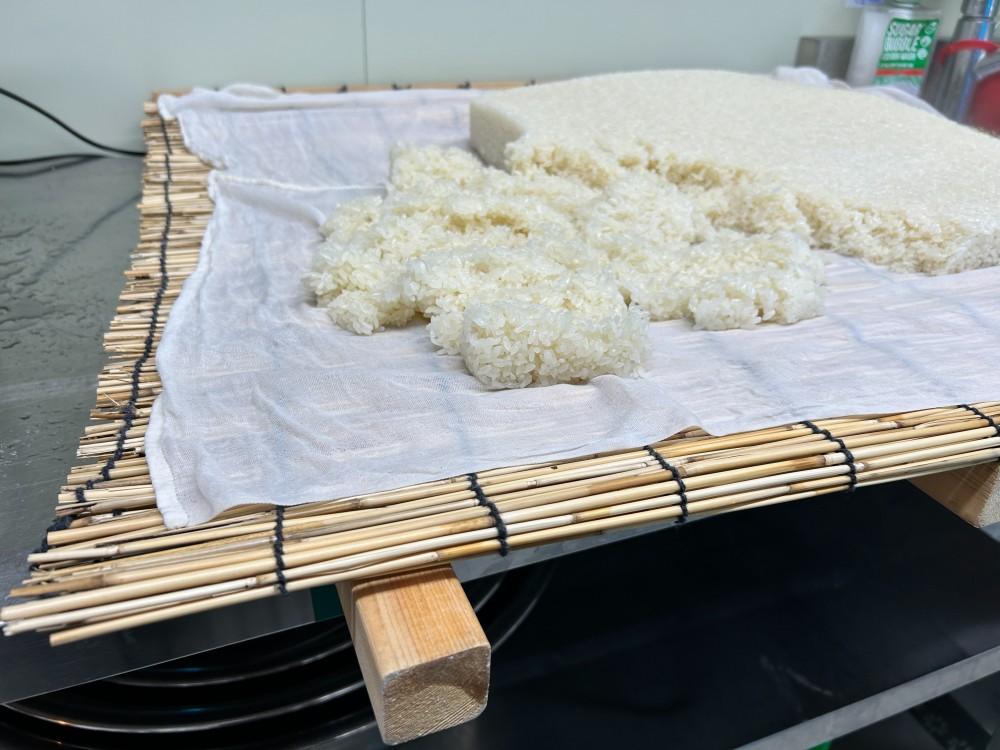
After steaming our rice, not cooking it, the next step is to cool it to room temperature. A common mistake I’ve noticed with many brewers online is that they tend to cool their rice by placing it directly on the table or counter. However, it’s crucial to avoid this practice because we need to ensure that the rice cools evenly from top to bottom.
Instead, here’s what you should do: create some sort of elevation to allow air to circulate beneath the rice. I personally like to use wooden sticks and place a Korean curtain, which you can find at stores like DAISO (where they sell a wide range of products, from kitchen utensils to home supplies), underneath. On top of the curtain, I lay a wet and wrung-out cheesecloth.
Additionally, you can set up a fan a few feet away to help speed up the cooling process. But remember, never, ever use a dehydrator for this step.
Where to go from here…
If this is your first foray into the world of making Makgeolli, then you can follow my recipe, which will ensure you create and savor genuinely good, natural, and traditional Makgeolli.
As you progress through the steps, you’ll come to realize that you don’t need any fancy equipment to craft Makgeolli, and this accessibility is one of the reasons I became passionate about this craft. If I had started making Makgeolli only to discover that I needed a dehydrator and had to cook my rice, to be honest, I might not have developed a love for Korean rice wine.
One of the most crucial aspects for a beginner Makgeolli brewer is to correctly prepare your rice for brewing. Once you master this step, everything starts falling into place, and you’ll find joy in the process as well as in savoring your Makgeolli creations.
For more in depth detail about making Makgeolli, please check out our online course