After years of studying and brewing Korean traditional alcohol, I must say that making chapssal makgeolli remains one of my all-time favorite makgeolli recipes. Why, you ask? Well, let’s just say it’s a breeze to make compared to other recipes, and the best part is you can savor it relatively quickly. I mean, who wouldn’t want to enjoy their own handcrafted makgeolli as soon as possible, right?
Alright, without further ado, let’s unveil the recipe for this delightful and easy-to-make Chapssal Makgeolli!
Ingredients to Make our Chapssal Makgeolli
Sticky Rice
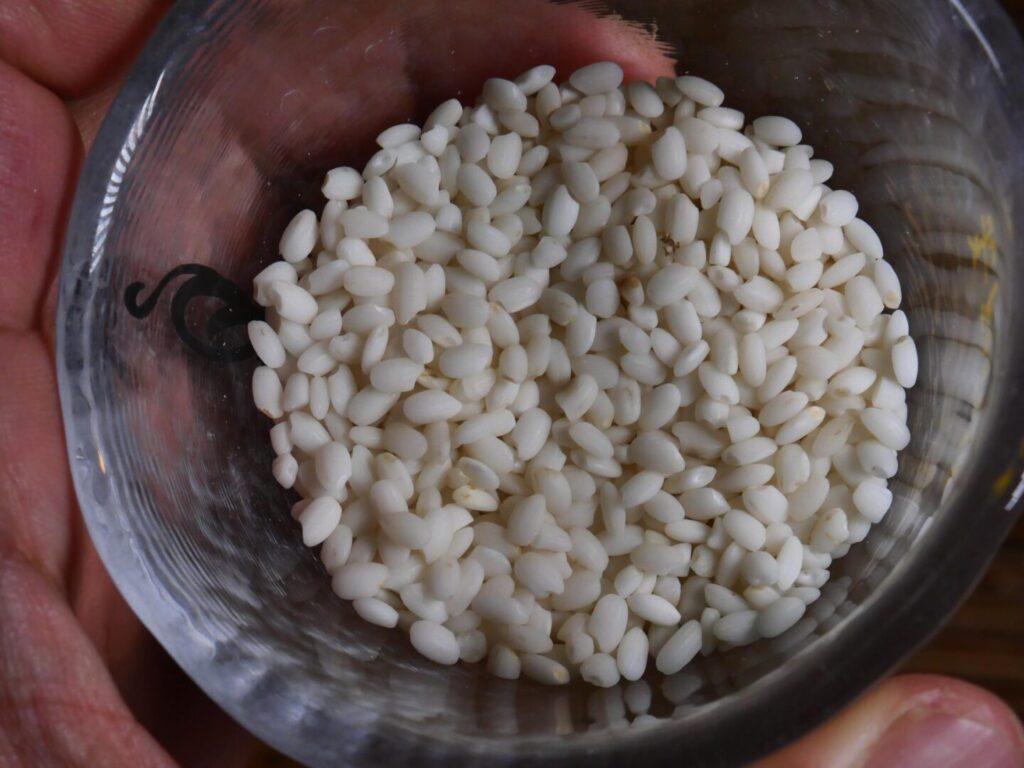
You’ll need 2Kg of Chapssal, or sticky rice or glutinous rice. Now short grain rice is what we want, we don’t want to use long grain rice as it has more protein, and it’s not going to be sweet and will have also quite a different texture. Check your Korean local supermarket, or even ask in a Japanese restaurant. However, remember we are using sticky rice for this recipe.
Water

2 Liters of filtered water. Preferably soft water, which has less minerals such as calcium and magnesium. The hardness of the water can vary depending on where you are. Water softeners can be used to reduce the hardness, however if it’s too much trouble, just go for it.
Nuruk

You’ll need 200 grams of nuruk for this. Make sure your nuruk is broken down into small pieces, about the size of a bean or lentil. If you have any large chunks, be sure to break them apart. If you can’t find Nuruk, and you are curious to make it, then check out our online Makgeolli Course.
Vessels

Prepare your fermentation vessel. For beginners, I recommend using food grade plastic, since it’s cheaper and you can see what’s happening to your Makgeolli during fermentation Don’t forget to sterilize it with ethanol. Finally, add your hard-worked rice mixture to the vessel.
The Recipe:
- - 2 KG of Chapssal, sticky glutinous Rice
- - 2 Liters of bottled Water
- - 200 grams of Nuruk
Step # 1 - Washing Rice

When it comes to washing rice, if you’ve already washed rice for your rice cooker, you’re halfway there. When washing rice, use circular motions. It’s helpful to use your thumb, first, second, and third fingers to get started.
Your goal is to create lots of bubbles and imagine your rice is in a relaxing “jacuzzi.”
One common issue I often hear is, “Joe, it takes me forever to wash rice, and my water never gets clear.”
Well, this might be because you’re squeezing the rice, and you should avoid doing that. With each wash, your water will become clearer, but it won’t be perfectly clear. Give it a good 10-minute wash. Usually, when you buy rice in Korea, it’s already quite clean. However, my friends overseas, you might want to pay closer attention to what you find in your rice. The first few washes and drains are the most important. If you spot anything that’s not rice, make sure to remove it as well. Happy washing!
Step # 2 - Soak your Rice

Awesome, let’s move on to step 2, which is soaking.
It’s important to soak your rice for at least 3 hours.
If you have other plans or need to soak it for 5 hours or even longer, that’s perfectly fine too. Just remember that soaking it longer doesn’t necessarily mean your rice will absorb more water.
Some people ask, what’s the right temperature of water to use when soaking rice. I’d say go for room temperature. Also beware that if you soak your rice for a long time during the hot and humid weather of the summer, your rice water can start smelling. As soon as this happens make sure you drain right away.
Step # 3 - Drain and Rinse

Take your colander and place your rice in it. Start by giving it a good rinse, lasting for about 30 seconds or so. After that dry your rice for about an hour. Your rice won’t be completeley dry, so just keep that in mind.
Step 4 - Steam your Rice
Right after you finish rinsing, it’s important to let your rice dry. This step is sometimes overlooked, but it’s crucial. Make sure you drain it for at least 40 minutes. Not only will this enhance the quality of your rice, but it will also improve the steaming process.
Now, you’re ready to steam your rice. Place your rice trays and add your steaming cloth. In my case, I’m using a silicon fabric steamer. Carefully place your rice in the tray.
Remember that every steamer can be a bit different, and you might be using something slightly different as well. However, the general rule here is not to overpack your rice all the way to the top. Leave some headroom for the steam to flow; otherwise, your rice won’t cook properly. Do not cook your rice or even put it in a dehydrator. If you know who Maangchi is, and you have seen her Makgeolli video then please do yourself a favor and read this post.
Next, add water to your steaming bowl and bring it to a boil. Wait until you see steam coming out. Don’t put your rice trays in until you see a high-rolling boil. When you spot steam coming out, that’s your signal to place your trays.
Set your timer to 40 minutes if you are using only one tray. If you are using 2 trays, steam for 20 minutes and then switch the trays, as the bottom one gets more steam.
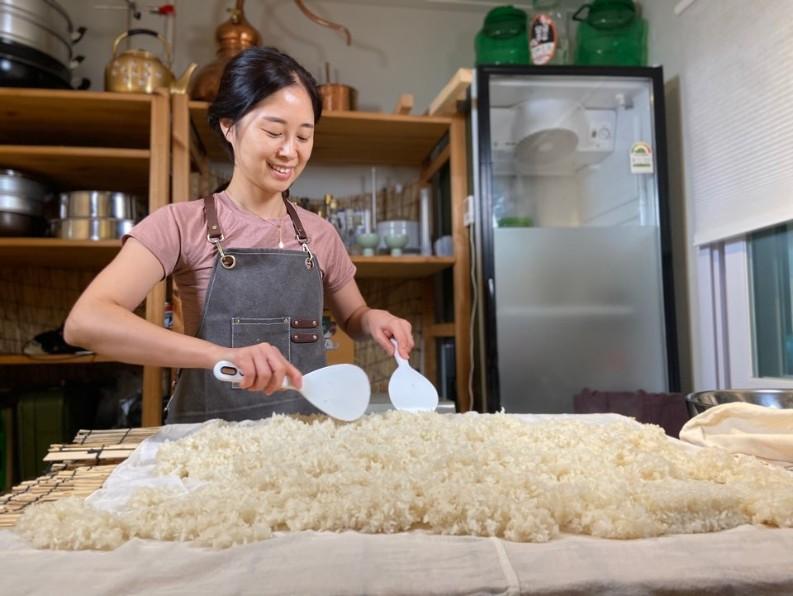
During this time, you can prepare your table to serve the steamed rice. Set out your wooden sticks and, in this case, a Korean curtain. Dampen the steaming cloth and make sure to wring it out well so it’s just slightly damp.
Place your rice on the damp steaming cloth, and if possible, position a fan a couple of feet away. This will help speed up the cooling process for your rice. You’ll want to divide the rice and flip it so that both sides cool down evenly.
You’ll want to cool your rice to around 25°C (77°F).
Once your rice is nicely cooled, it’s time to clear your workspace and transfer the rice into a bowl. If you don’t have an extra bowl, you can use your steamer bowl.
Mixing our Makgeolli
Cooling our Steamed Rice
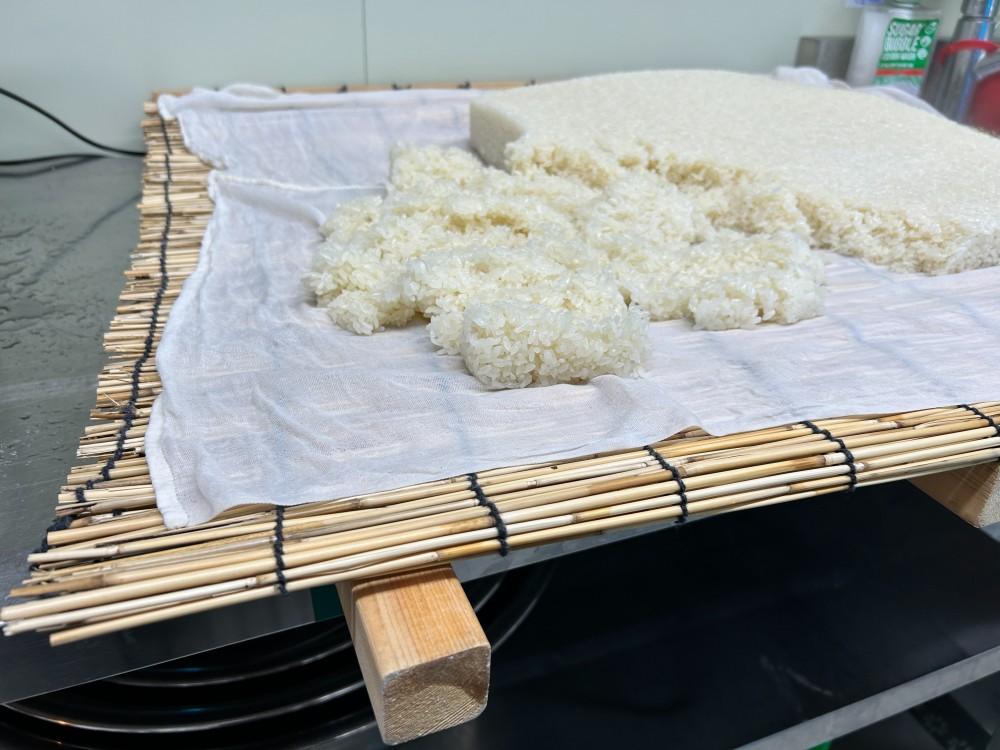
A big mistake I’ve seen in a couple of other Makgeolli tutorials is that they place their steamed rice or Godubap directly on the workspace without creating some sort of elevation.
We want to evenly cool the top and bottom. Create some elevation, and make sure the surface has holes or gaps so airflow can escape.
Cool until your rice is at room temperature. Don’t let it over-dry, and no, there’s no re-steaming.
Mix all very thoroughly

let’s move on to the next step, which is to measure your nuruk. You’ll need 200 grams of nuruk for this. Make sure your nuruk is broken down into small pieces, about the size of a bean or lentil. If you have any large chunks, be sure to break them apart.
Next, add 2 liters of water to your rice. At this point, your goal is to break up any clumps, and then add your 200 grams of nuruk. Start mixing. The key here is to mix a lot, for at least a minimum of 30 minutes. Avoid squeezing the rice, and keep mixing until your makgeolli feels quite moist.
Find the Right Vessel

Prepare your fermentation vessel. In my case, I’m using a glass vessel, but plastic works just fine as well. Don’t forget to sterilize it with ethanol. Finally, add your hard-worked rice mixture to the vessel.
Quick Tip: Don’t leave so much headroom inside your vessel, you should have at the most 5 fingers or so of headroom. Creating a lot of gap or a lot of headroom can cause oxidation.
Fermenting our Makgeolli
"If you are cold, your Makgeolli is cold... if you are hot, your Makgeolli is hot."
Joe Kim
Day 1

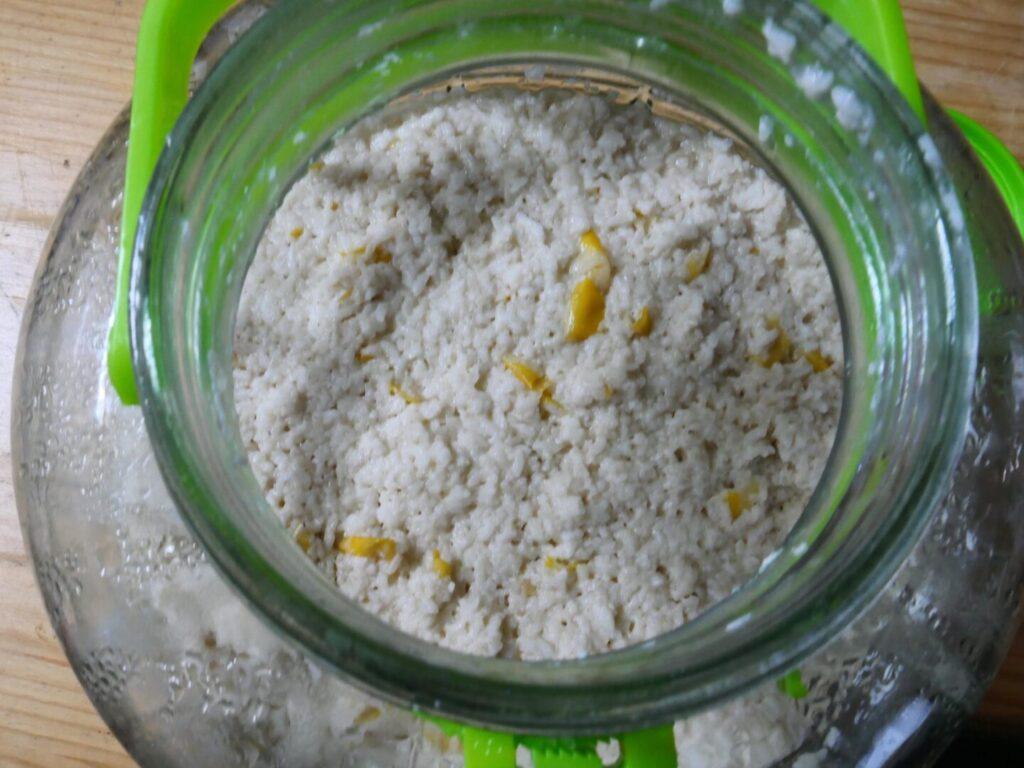
On day 1 , the water will be absorbed by the rice and the nuruk. Stirring at this point will be a bit challenging as there is not a lot of water.
I like to stir with a long spoon stick it on the edges and pull back to destroy less rice grains.
Once you make your makgeolli, if it looks a bit dry and it’s hard to stir, just wait a bit more and keep it also the right temperature.
Day 5

What makes a Makgeolli brewer more knowledable and confident?
Well he/she can notice what’s happening to the Makgeolli using all senses. By Day 2, your Makgeolli will have a bit of liquid on the bottom. You’ll always see that carbonation has formed when you smell it, and if you put your ear closely, you’ll start hearing crackling sounds.
These are all good signs that your Makgeolli is indeed fermenting! We stir for Day 2 and lastly for Day 3.
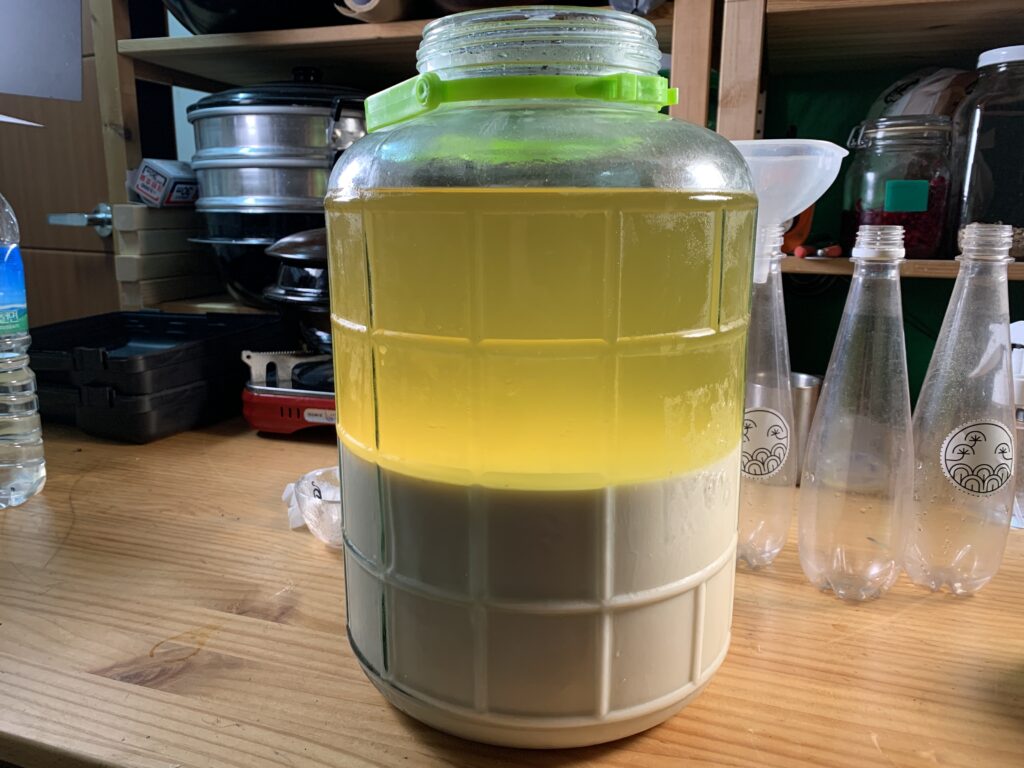
Day 7
Days 4,5,6,7 we let our Makgeolli rest. Don’t open the lid, and leave it alone.
Just keep an eye on the temperature, and then filter on Day 7 or 8. Now filtering this time is not mandatory. You can keep your Makgeolli fermenting up to 2 weeks or even up to a month.
Extra Points!
- As mentioned earlier, you have the option to continue fermenting your makgeolli for up to Day 12 – 14. If you choose this route, your makgeolli will be less carbonated.
- If you choose to ferment your Makgeolli much longer, it can also Sour. The Rule of Thumb here is, if you keep your Makgeolli longer, then keep it cooler.
- When you initially filter your makgeolli, you’ll have what’s known in Korean as “Wonju,” which is essentially your undiluted Makgeolli. Your Wonju will have strong flavors (and a higher alcohol content, about 11 – 12% ABV) when you first taste it. Place it in a plastic container (you can use the same vessel you used for brewing) and refrigerate it for 3 days. Over time, the taste of the makgeolli will mellow and become smoother.
- If you choose to filter your makgeolli at the 6-day mark, it will develop a significant amount of carbonation, so avoid storing it in glass bottles to prevent excessive pressure buildup.
How long can I keep my Makgeolli?
Our makgeolli contains no artificial sweeteners, so you have the option to bottle and store it in the fridge for several months if it remains unopened. Over time, the taste of your makgeolli may become mellower and potentially more carbonated. However, it’s essential to keep it well refrigerated to prevent it from turning sour. Remember that our Makgeolli is technically “alive,” meaning it’s still fermenting, but at a much slower rate.
Thank you once again for your interest in makgeolli and for reading this recipe guide. We’re always thrilled when people share our enthusiasm for this wonderful craft.

If you’re new to makgeolli and wondering if this is the only way to make it, the answer is no. You can achieve an infinite variety of flavors by experimenting with different rice preparation techniques, rice-to-water ratios, ingredients, and fermentation stages.
If you’d like to explore all of these aspects in greater detail, consider checking out my e-book titled “Home Brewing Korean Rice Wine: Learn How to Make Makgeolli and Sool.”
It covers everything in-depth, and I even provide a step-by-step guide on making your own Nuruk. You can find it available on Amazon. Happy brewing!