If you have taken our Makgeolli classes in Korea then you’ll remember that I mentioned there is not just one way of making Makgeolli.
The most common way of making Makgeolli is the Single Step Fermentation method or 단양주 (Danyangju), which is great for enjoying your Makgeolli quickly, or if you want to make it during the summer times, when it’s hot and humid in Korea.
If you don’t want to limit yourself, with just this one type of recipe and you are also trying to expand the limitless options to enjoy your Makgeolli, then just by learning this one extra rice preparation method, you’ll be able to do that.
Why you should learn how to make different types of 술 or Makgeolli?
The reason that there are other rice preparation methods and ways to make rice wine is to primarily raise the alcohol level to enjoy some more premium Cheongju and of course different types of more premium Makgeolli
In this post, we’ll give you insights and a recipe on how to make a 2-stage Makgeolli using a very easy rice preparation method called the Beombeog method.
If you haven’t made Makgeolli at all, then I strongly suggest checking out our Chapssal Makgeolli Recipe first so you can make sure that you have everything you need to make Makgeolli.
What is Beombeog & Ingredients
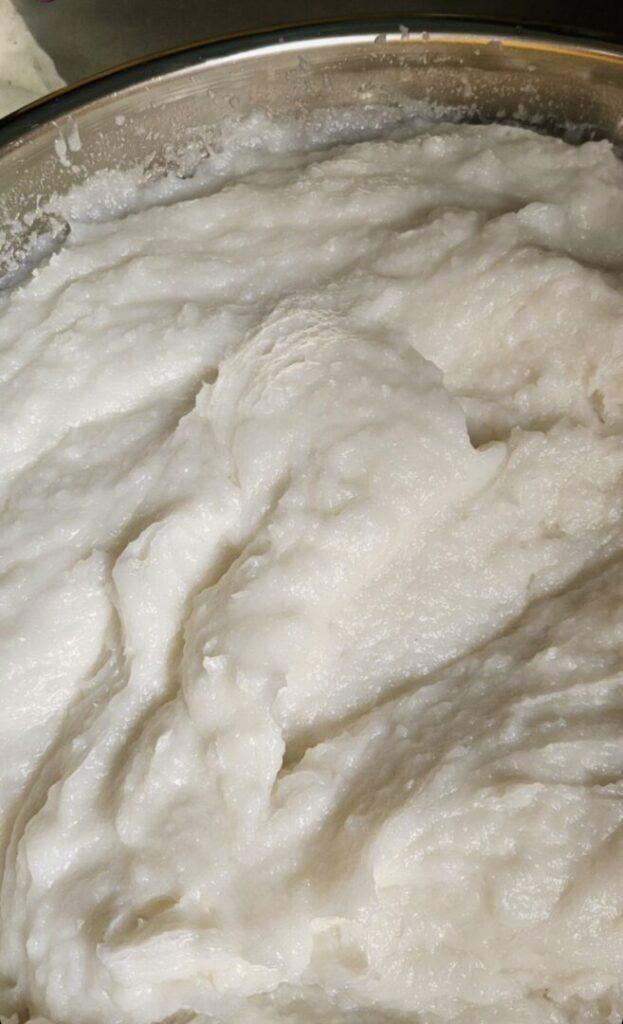
Beombeog is a rice preparation method that is the least labor-intensive compared to others. It is a porridge-making style that consists of a 1:3 rice-to-water ratio.
Learning how to make Beombeog will allow you to create Makgeolli recipes that involve two or more stages, so you can ideally make more traditional alcohol recipes.
“Beombeog is known as the half-cooked method, partly because, like other porridge-making styles, it is not thoroughly cooked under heat and remains incompletely gelatinized.”
Ingredients
1 Kg of Rice Flour (mebssal – non glutinous rice)
3 L of water
300 grams of nuruk
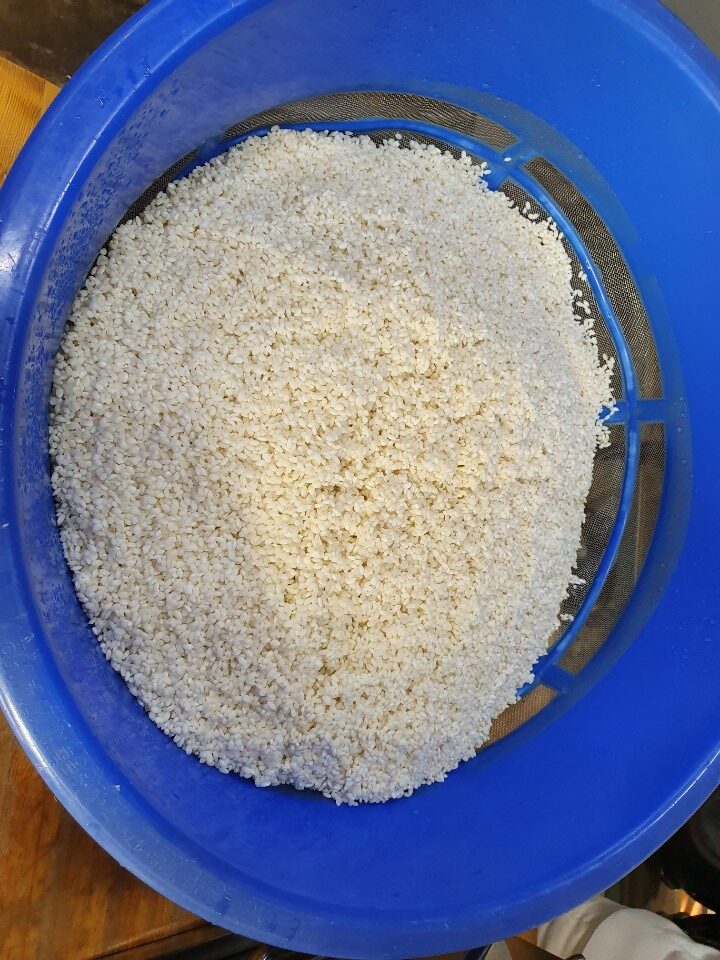
2 Kg of Chapssal (Sticky rice – glutinous rice)
In this post, we won’t be covering the beginning steps such as washing, soaking and drying rice. If you need a refresher please check out our Chapssal Makgeolli Recipe
Step by Step Process
1. Wash - Soak - Drain - Rinse - Dry
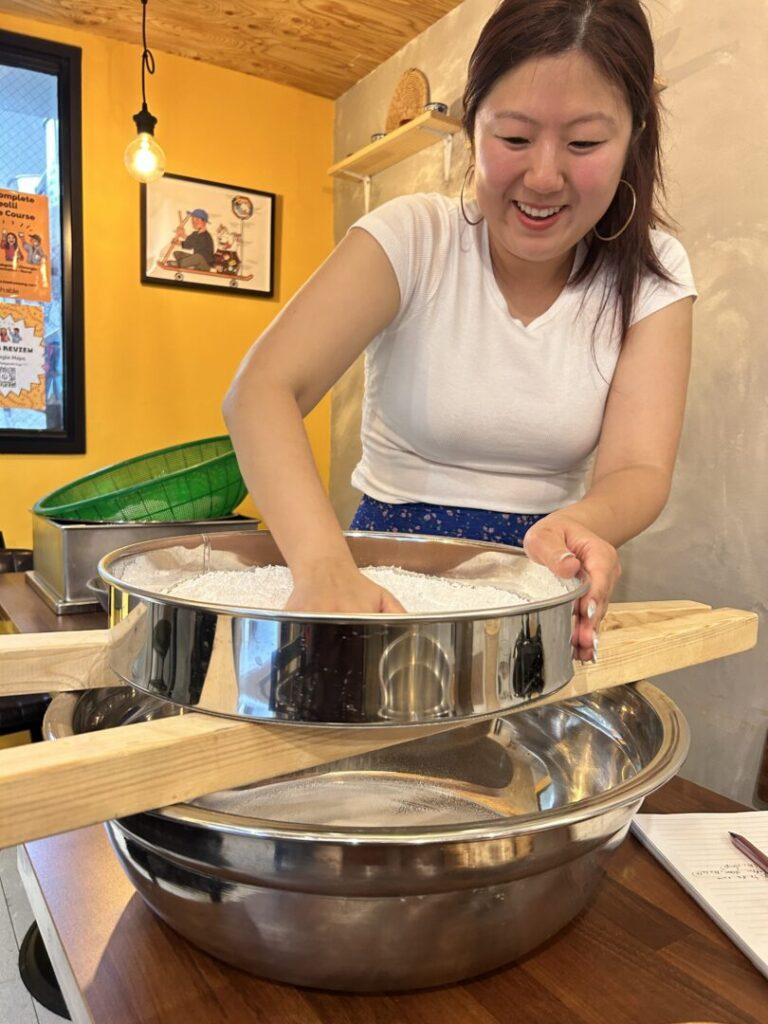
2. Sift your Rice Flour finely
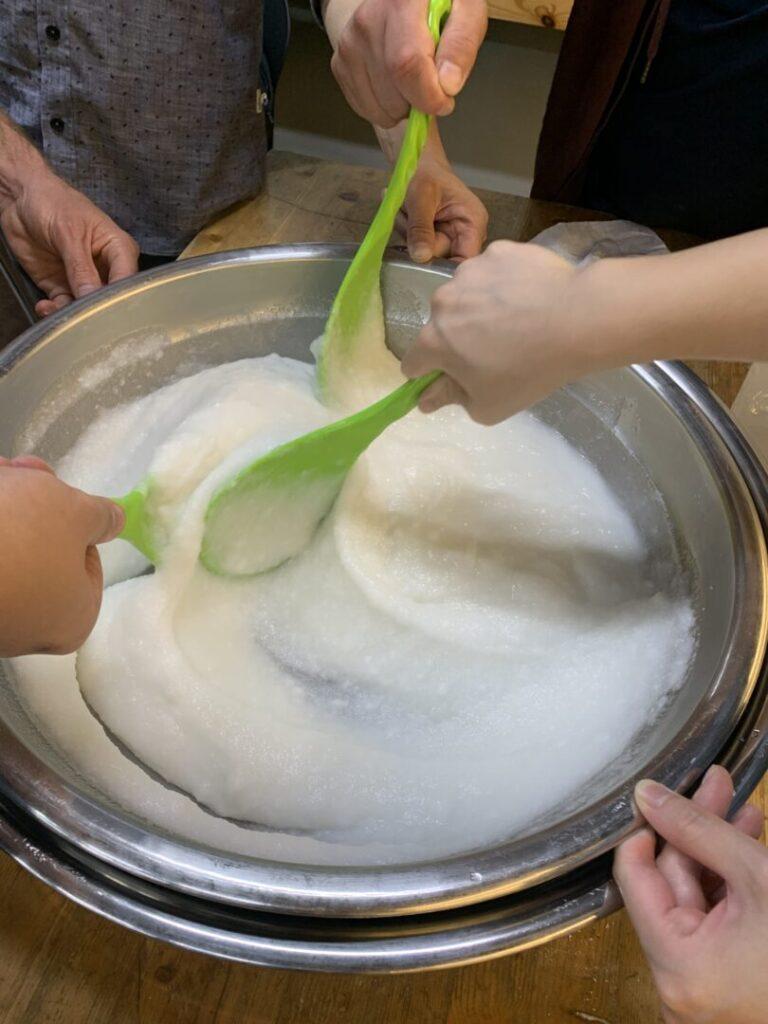
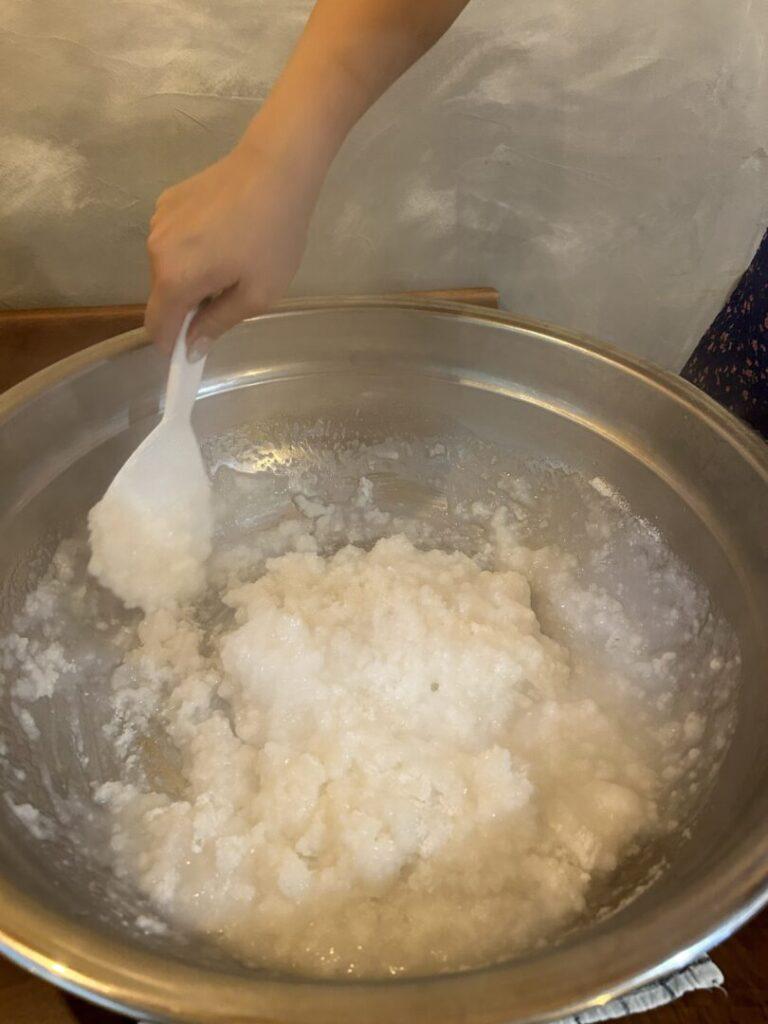
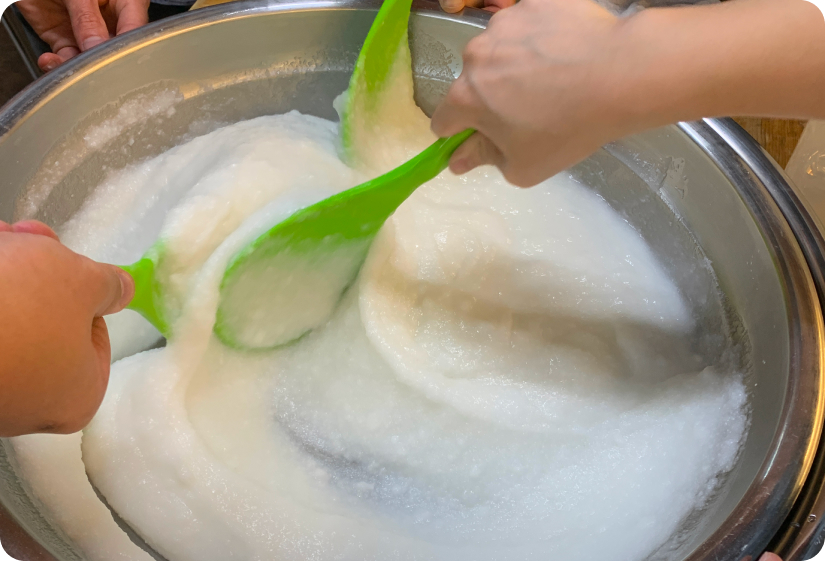
3. Adding 3 L of boiled Water & Stir
If you see big rice clumps make sure to smooth them
4. Cool your Beombeog to room temperature (25° C)
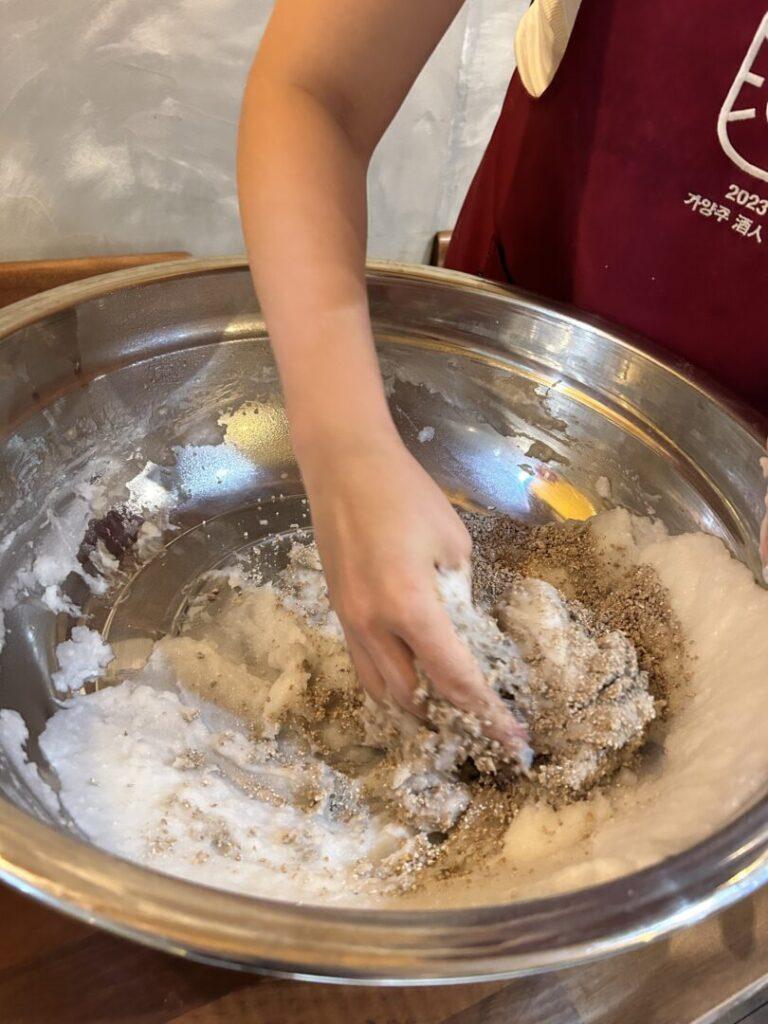
5. Add 300 g of Nuruk & Mix
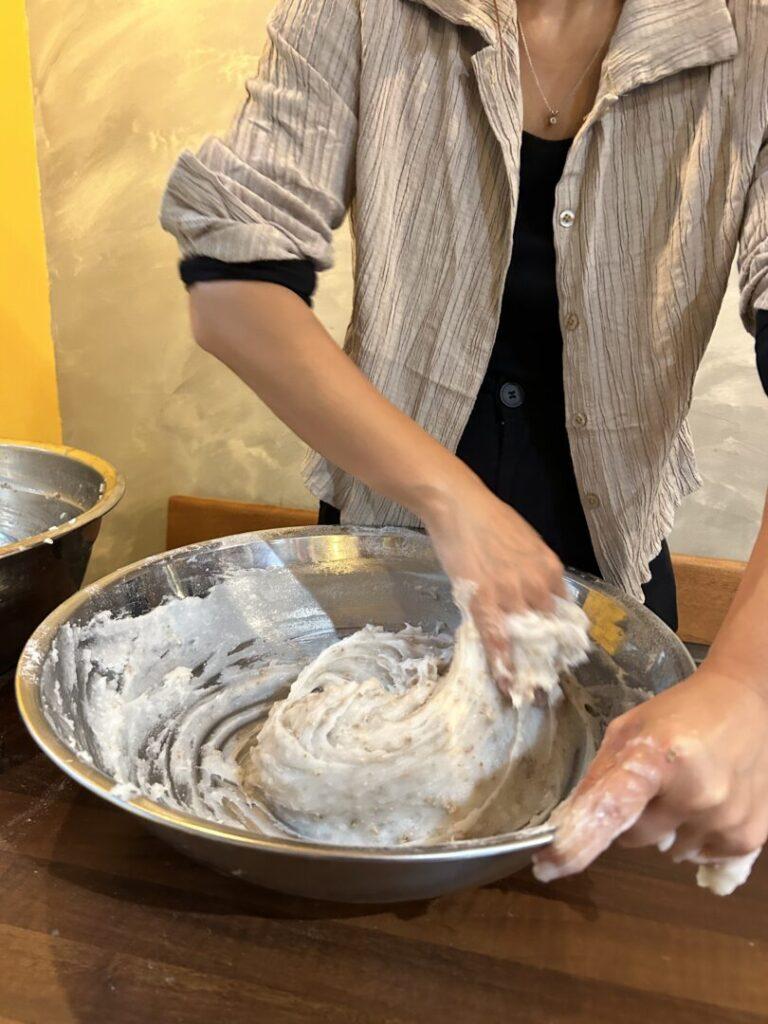
6. Mix thoroughly
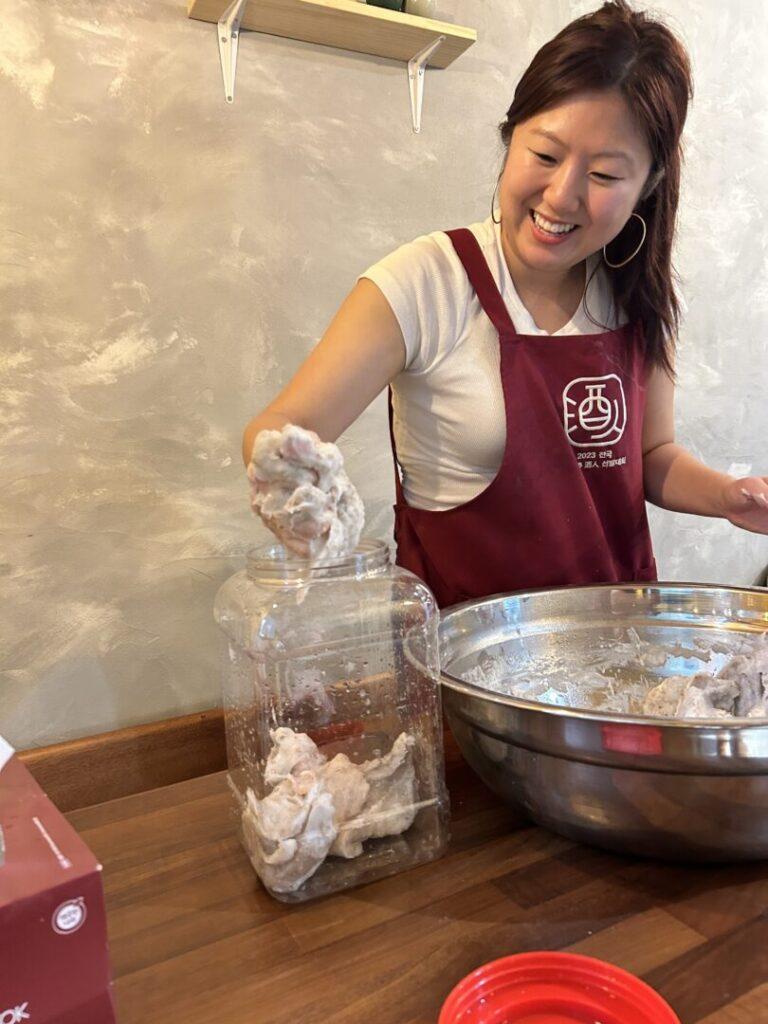
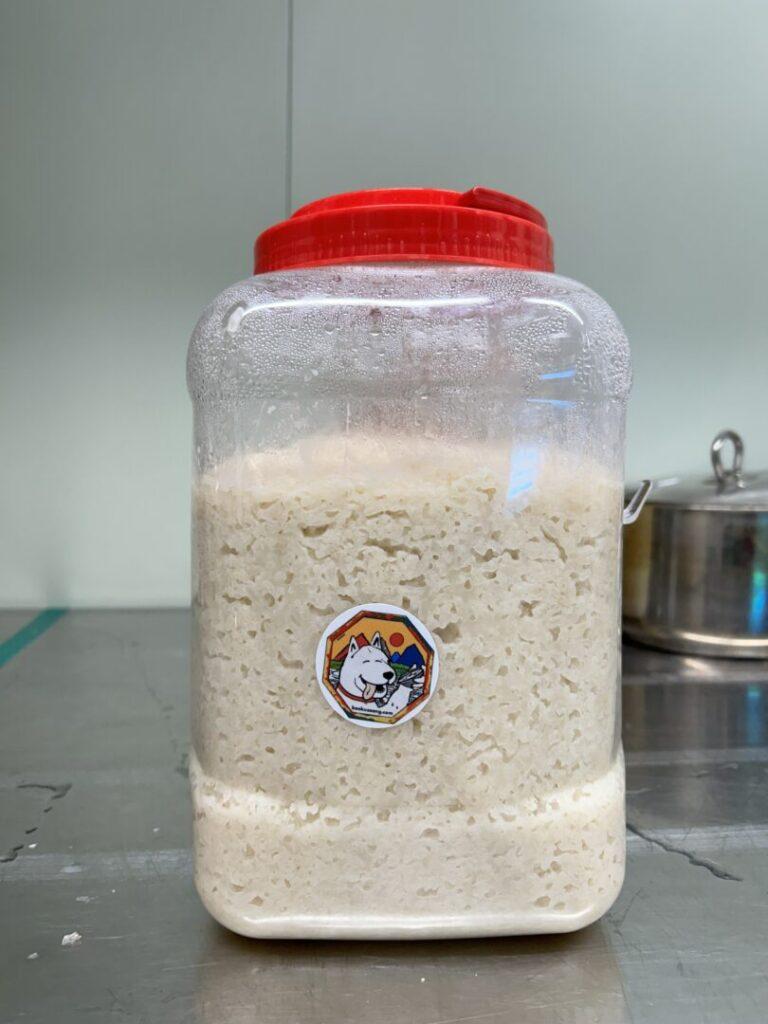
7. Find a Vessel to store
8. Ferment at 25°C
When To Filter your First Stage?
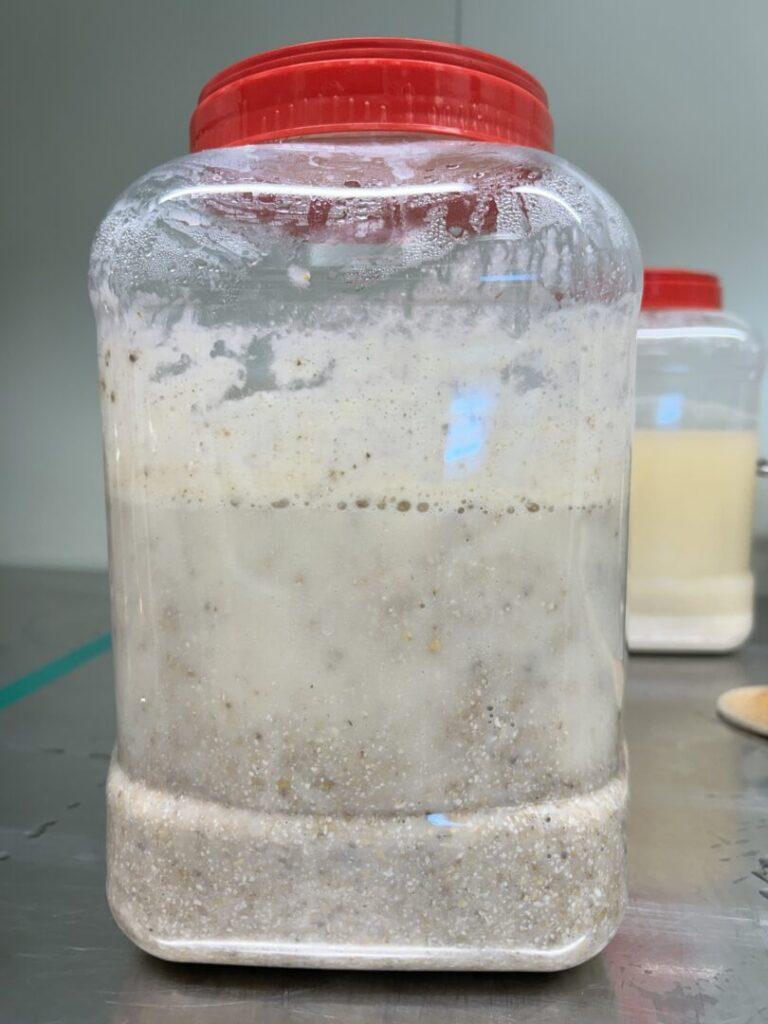
Like I explain during our Makgeolli making classes, there is not magic machine that will tell us when our first stage is ready, in order to proceed to our second stage. What’s important in this case, is to use our senses, such as visual , aroma, sound, and taste. Knowing when to correctly do this will make or break your Makgeolli, and it’s where more seasoned brewers are familiar with. You will too, once you practice and learn what to look out for, but here’s a quick overview. A good rule of thumb is to check every 12 hours for some signs of action.
Ferment for 3 days at 25°C and you’ll notice that in the beginning, when you were mixing your ingredients, everything felt quite goopy and sticky. The following day in the morning, or after at least 12 hours or more, you’ll start seeing some small signs of fermentation. What we need to do is give it a stir to help the fermentation process.
Around Day 2, or 48 hours, you should see stronger signs of fermentation, especially more bubbling and sounds. This is when our first stage is picking up, and you want to be aware of how strongly your Makgeolli is fermenting. Keep in mind, we also stir on Day 2.
On Day 3, you want to give it one last stir. You’ll notice that there will be less activity, and all those strong signs we talked about will calm down. When you notice this, you should get ready to start your second stage.
Adding your Second Stage Godubap
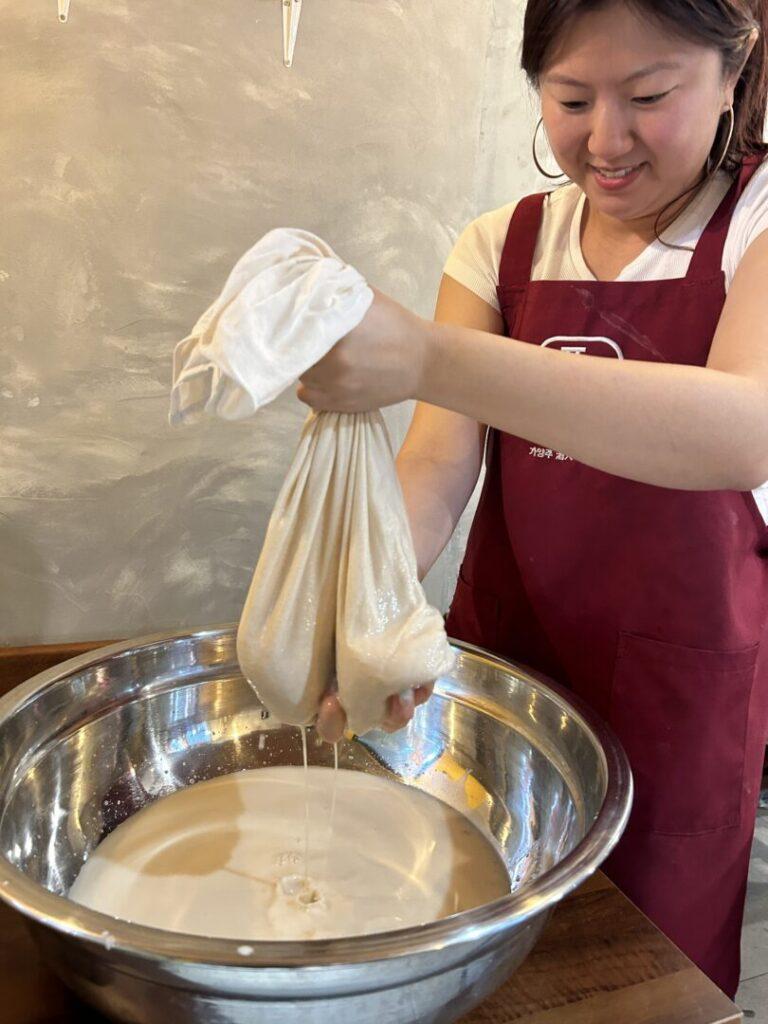
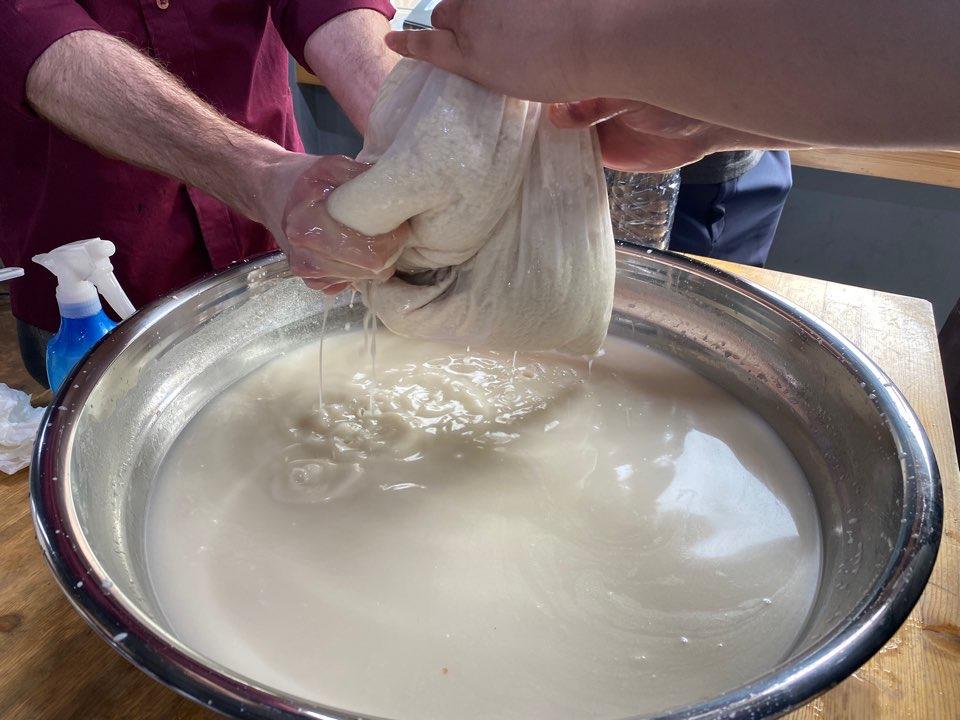
1. Use a filter bag to Strain your Makgeolli. Dispose the Nuruk.
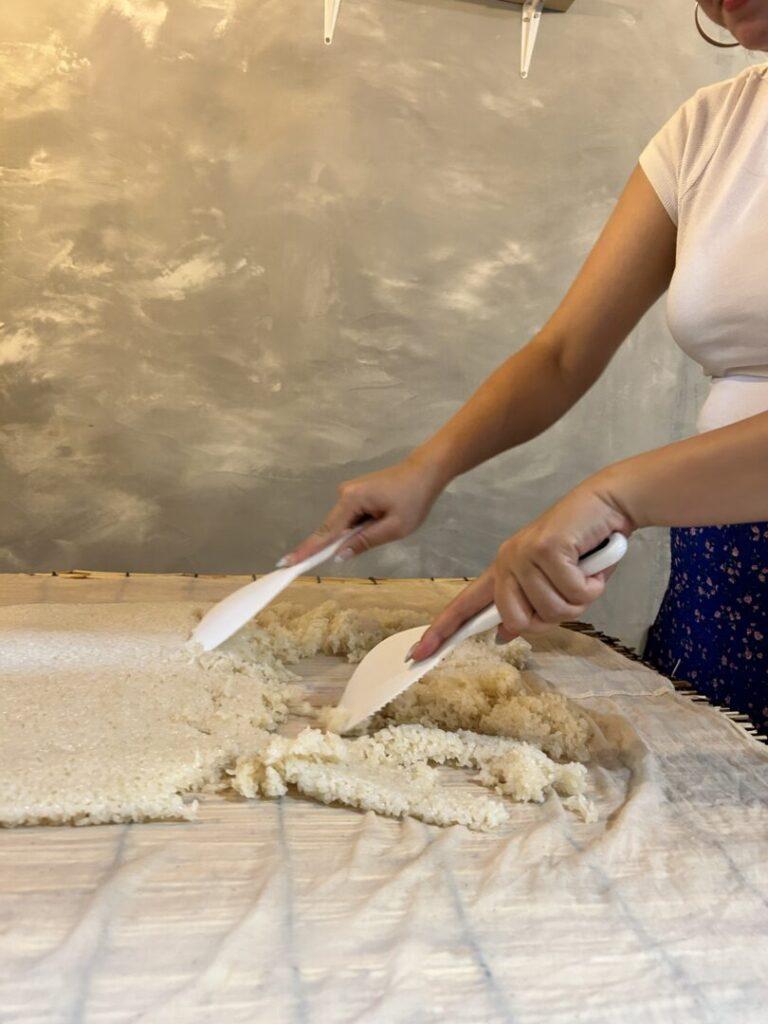
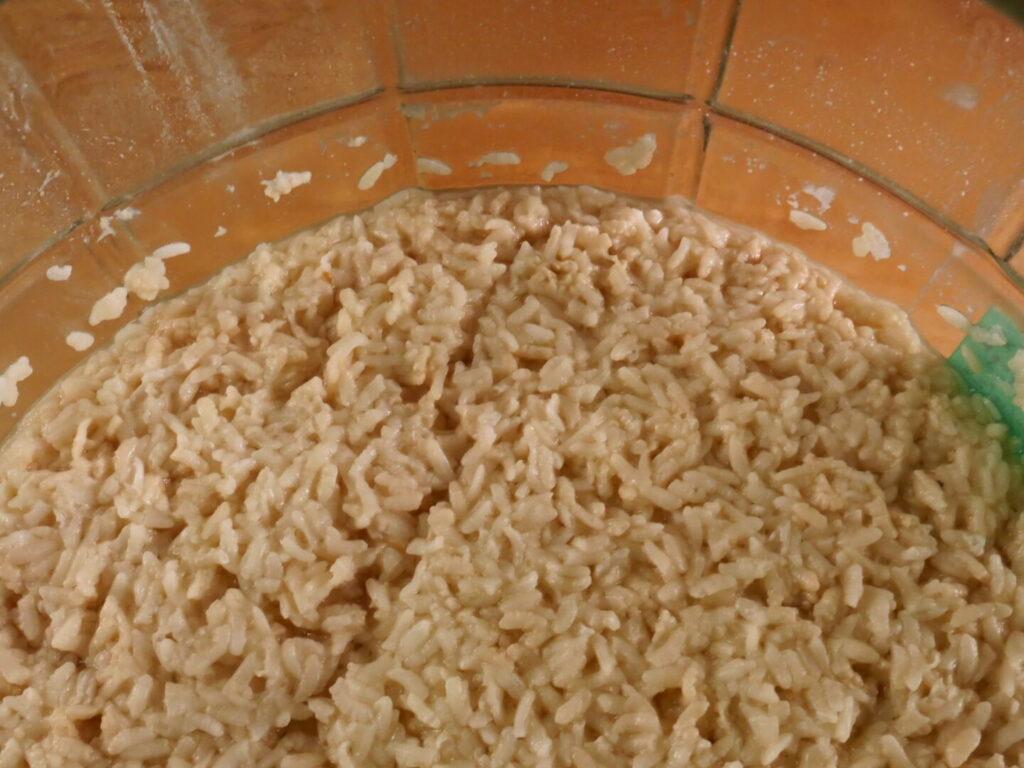
2. Make your Godubap (Steam rice) in this case 2Kg of sticky rice or Chapssal.
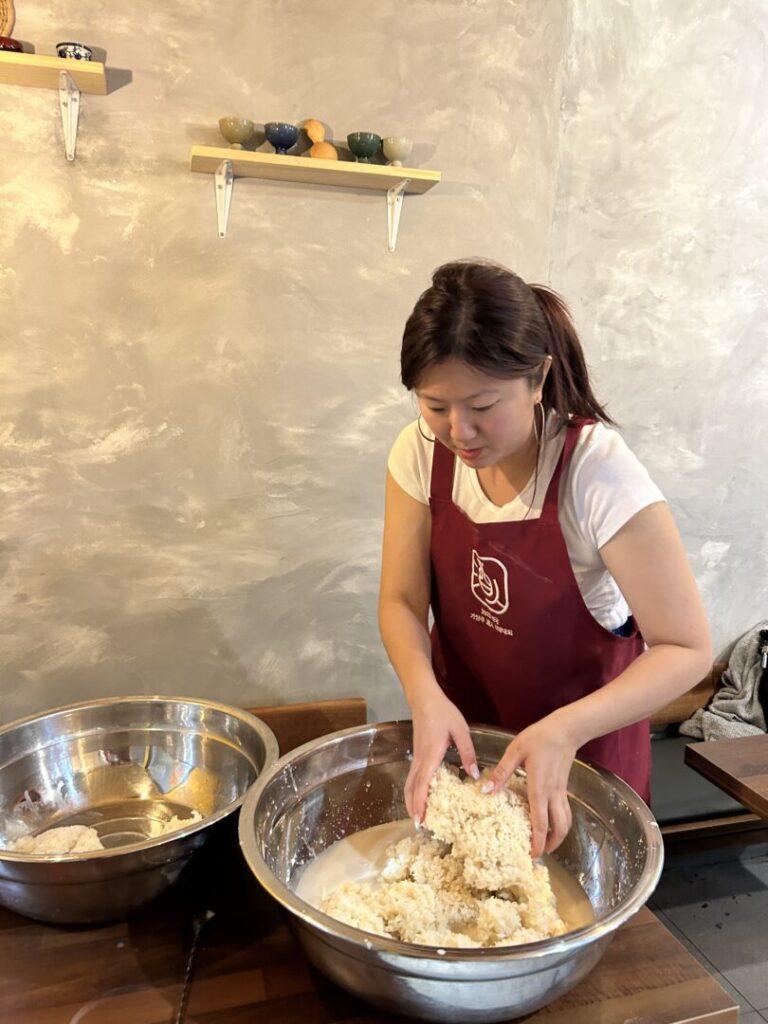
3. Once your Godubap is cooled to room temperature, then add both your first stage and your Godubap.
4. Find an appropriate vessel, and store your Makgeolli
5. For the first 2 days you want to stir, and ferment keeping your Makgeolli ideally from 22°C to 25°C
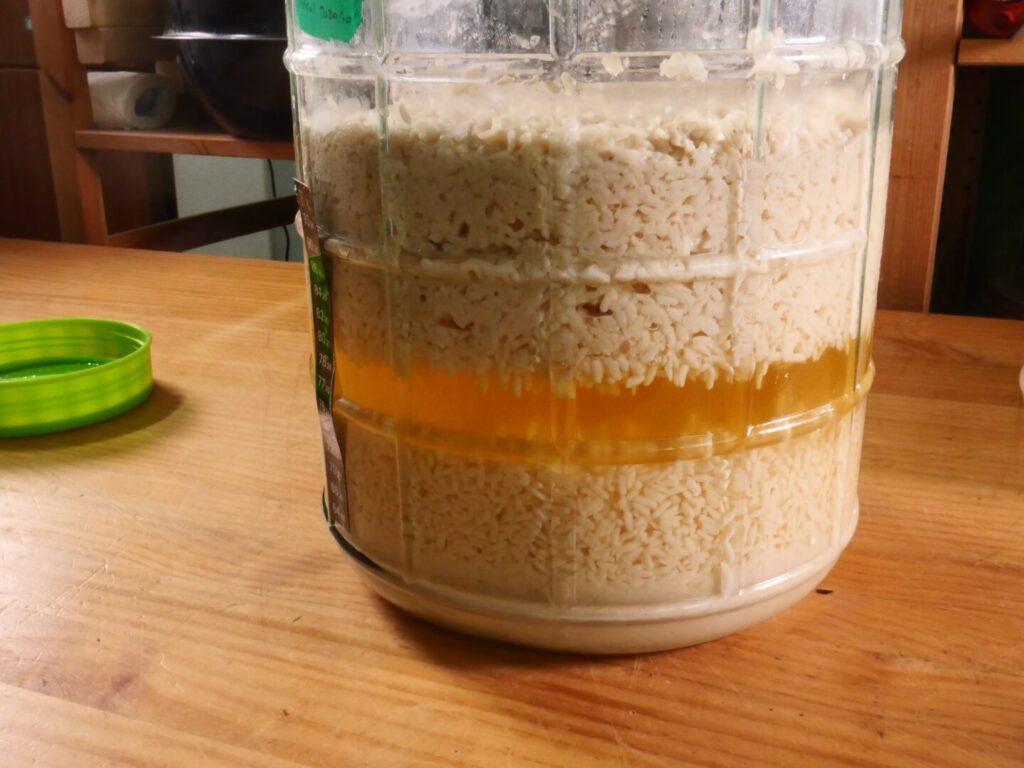
6. Ferment for at least 25 days to 1 month, and you want to ideally see a clear separation of three layers forming.
7. By this time, you'll see a thin layer of alcohol forming on the top. Have a taste and filter.
Filter and Enjoy!
You can enjoy your Wonju which in this case will be about 14 to 15 ABV if done things correctly.
Your 2-stage Makgeolli will be non-carbonated, smoother, and less tart. If you don’t finish it, you can also enjoy more premium Cheongju, and if you are into distillation, or want to make your own Soju.
Knowing when to filter is also a skill that will come more with time. There are cases where people wait until all the alcohol comes up above the rice and they decide to filter it that way. The only suggestion I have is, if you decide to keep it longer until this happens, you will need to keep your Makgeolli fermenting at cooler temperatures.